hello I’m new in seamly 2d, and now I can’t preparing it for print, I cant choose the pattern and i will appreciate if you help me. and if you know any source for learning seamly please introduce to me.
2 Likes
Hi Azade,
Not sure how far you got, but I’ll go through from a block in Draft mode. Once you have drafted your block you can then crreate Pattern Pieces based on the points and curves in the block. Select the Add Piece toolbutton, and then you can select points and curves in a clockwise direcection.
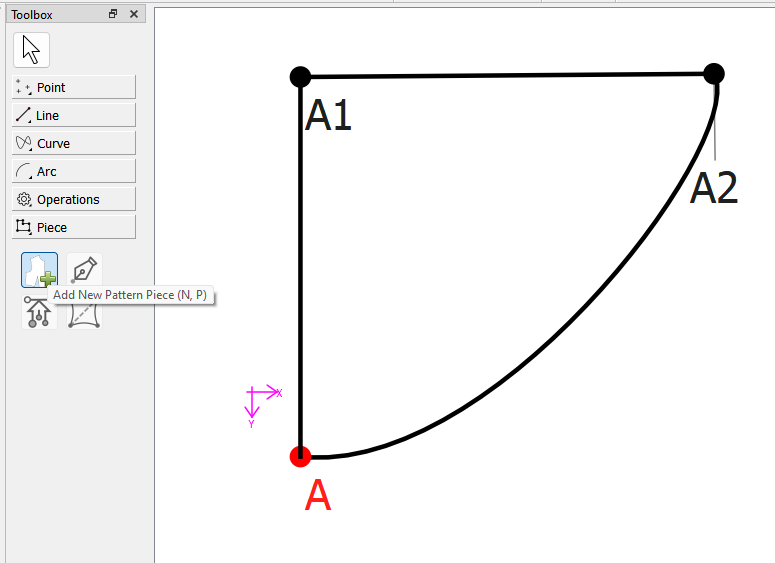
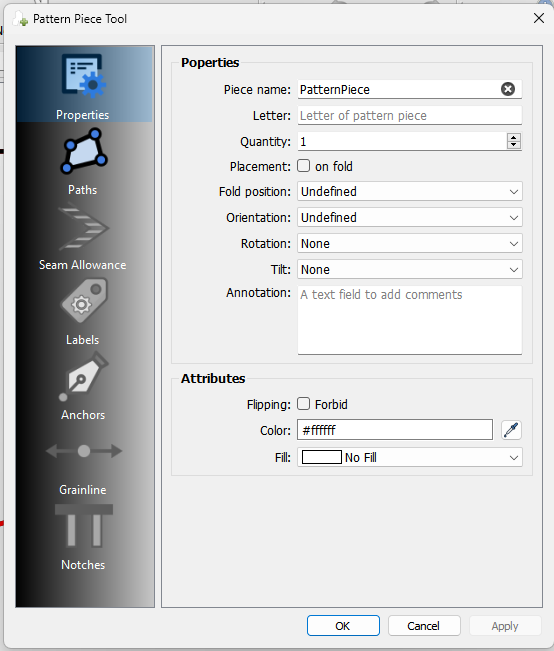
Once you done that and press enter, the Pattern Piece tool dialog will pop up. You can make some changes now, or just press OK and edit later.
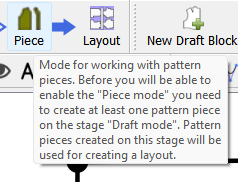
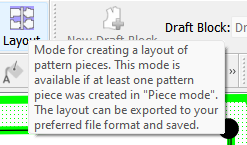
Once you have created at least 1 pattern piece you can prodede tp Piece Mode by clicking the Piece Mode button.
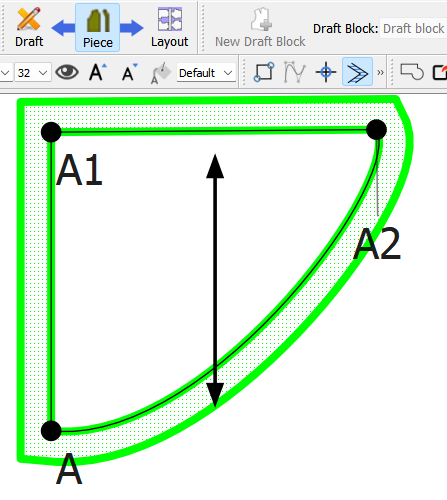
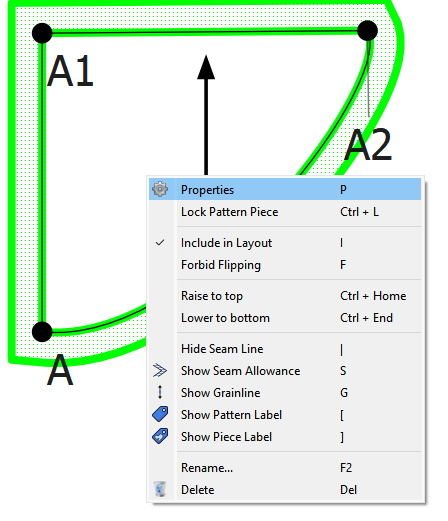
You should then see the pattern pieces… you can edit the Piece properties by using the right mouse button context menu and select Properties… which will open the Pattern Piece Tool dialog again… allowing acces to all the piece’s properties.
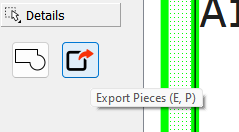
Once you have edited and added all the details to you pieces, you either Export the pieces as they are on screen - such as a pdf or svg, and then use a 3rd party app to print.
Or go to the Layouy mode to create a layout that you can then export or Print.
Selecting Layout mode open the Layout Print settings dialog:
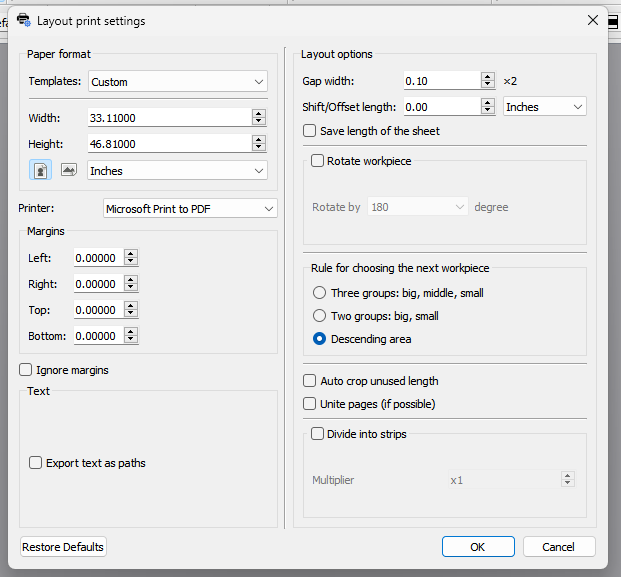
The main thing you have to do here is select a paper format that’s at least as big as the largest pattern piece. Sometimes this is a trial and error thing. I just use a custom size that I think will work. Click OK and the app will create a layout automatically… sometimes not always the best use of paper, but it does work.
As you can see I have a really smalll piece on a large 33.1 x 46.81 size paper. In this case I could have just selected a single Letter size for less waste;

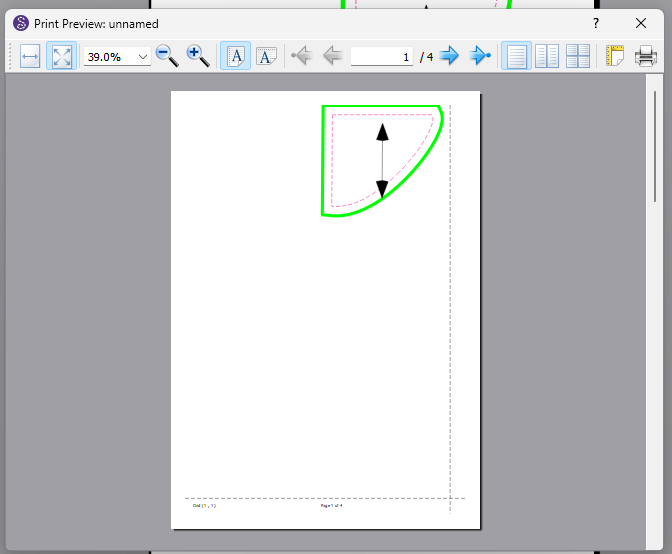
Once you have created a layout, you can now Print or Export the layout. Chances are, unless you have a plotter you’re either going to Print or Export a Tiled PDF… which will then tile the layout as per your Printer size paper.

You can also select Print Preview to view the Tiled PDF…
Hope this helps. Let us know we can help any further.
3 Likes
Thank you very much, Douglas. I followed your instructions precisely, but unfortunately, my pattern ended up being distorted. what is my mistake?
2 Likes
There’s probably something missing or askew with the main path. Curves not being reversed or with control points being 180 degs backwards are often a cause for erratic drawing. If we can see your pattern and any measurement files, OR if we can see screencaps.of the draft block and the Main path list of nodes - we can fix it.
2 Likes

2 Likes
Hello, @azade
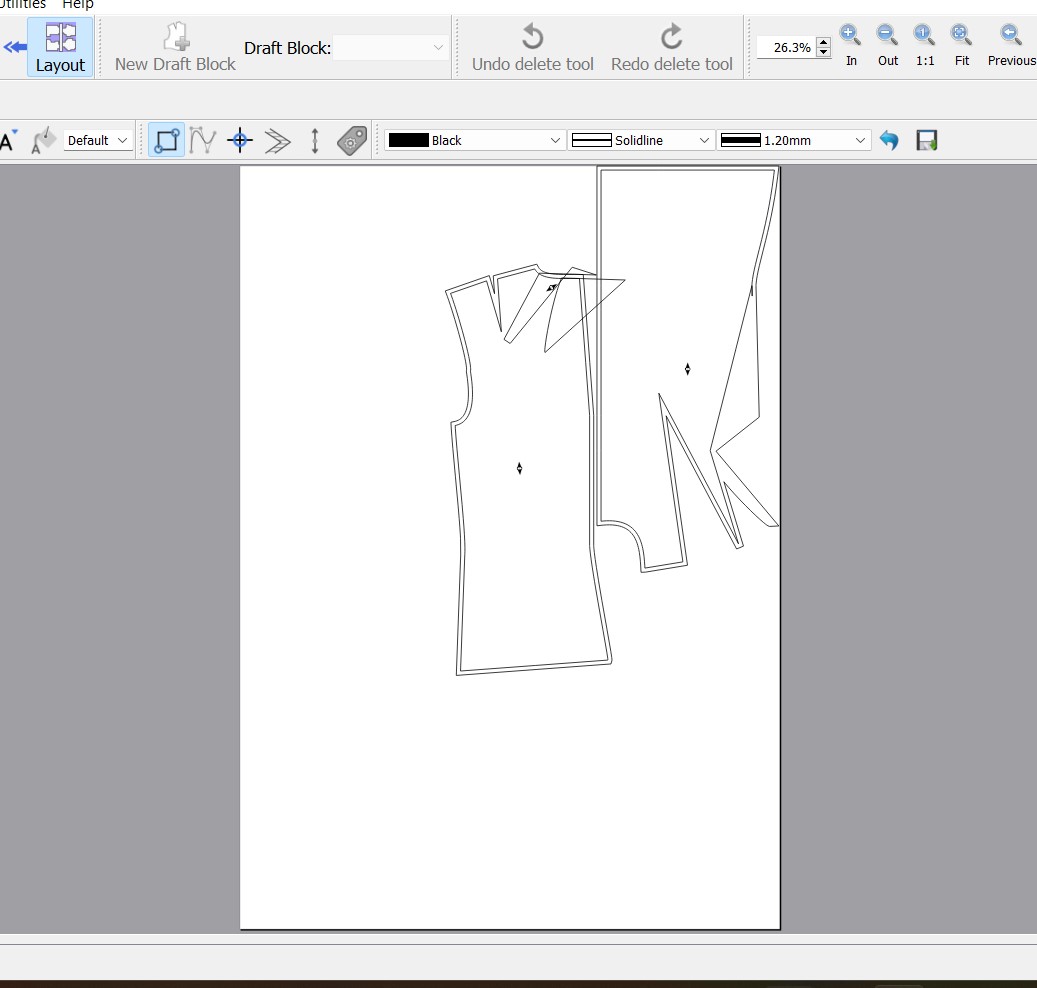
It seems that you are not only following the outer lines but also including the internal paths. There is a place to add the internal paths.
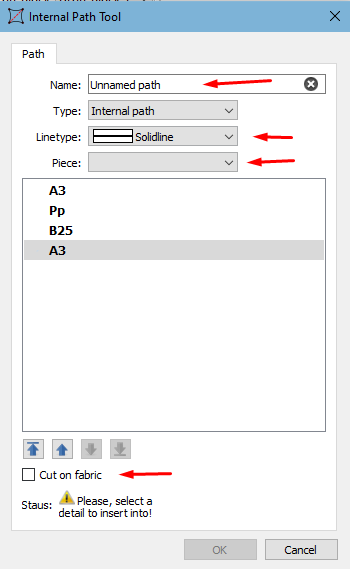
A point to remember is that Seamly can’t figure out where to go if the lines come too close to each other or cross each other. For this, we use the Internal Path tool:
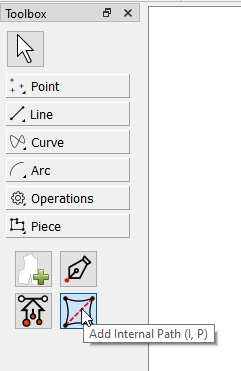
It works the same as the Piece path tool, except that it draws lines on the inside of the pattern and, if you’re cutting your pattern directly from Seamly onto fabric, you can choose to have the internal cut out, or if you are printing the pattern to paper, you can remove the checkmark at Cut on fabric so that it only prints on the paper.
2 Likes
We also have to see the Main path in the Pattern Piece Tool dialog of your pattern so we can see what points & curves you’ve added as the main path… for ex:
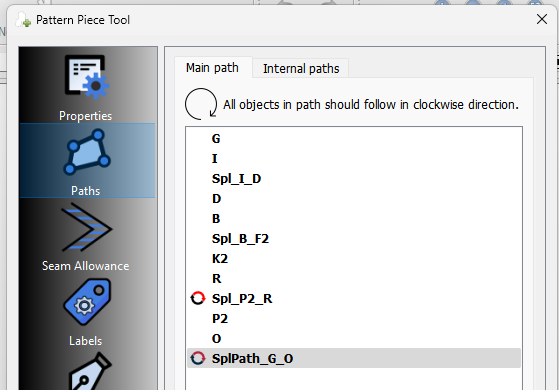
But I believe @Grace is probably correct in that you have included internal points that don’t belong with the main path countour (seam line).
You can easily go into the Main path list and delete any offending points (or curves) using the right mouse button context menu:

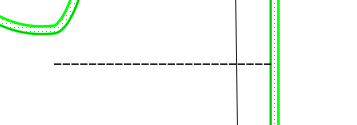
And then as @Grace has suggested to add any internal paths seperately to the piece. Internal paths being things like break lines, pocket placement, darts, etc.
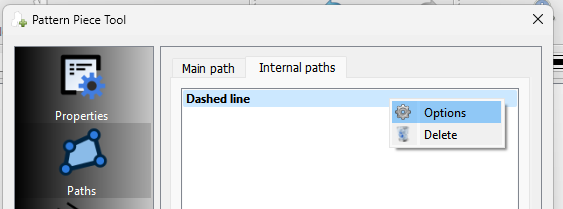
For ex I just added an arbritary dashed line to a pattern…
Which you can then edit in the Pattern Piece Tool Paths->Internal Paths:
2 Likes